Wednesday, June 1, 2011

Freezer Paper "Silk Screen"

This technique is far from new but sometimes it's good to have a little reminder that it's possible.  I'm sure it would be a lot easier to do with a Cricut or a Silhouette or something.  I don't have one of those, so I use the good old freezer-paper-and-scissors method.  Printing like this is a great way to personalize shirts or other fabrics without a lot of cost.  The onesie I used in the pictures has an intended purpose.  It'll be super cute when it's done.  I'll make sure to post a tutorial for that when the time comes.

Before you begin make sure to pre-wash your fabric. The onesie I used shrunk quite a bit after its first washing.  I'm just glad I knew that before I started this project.

The supplies you need are pretty basic:
Item to be painted
Freezer paper
Your chosen design
Scissors or craft knife
Paint and something to apply it
Iron
Tweezers

I decided this little onesie needed a makeover and that it would include an animal print.  I wanted words and a graphic and thought the leopard paw was a good idea.  Play with the design on your computer to make sure it's what you want.  Be prepared to print and adjust your design once or twice.  Once it's printed you'll be able to see if the design needs to be bigger or smaller.

When your design is ready it's time to trace it on the freezer paper.  Place the shiny side of the freezer paper against the right side of the design.  Trace, trace, trace!  I've also put the freezer paper directly into the printer and done it that way.  It saves time but it does not allow for any mind-changing.  Tracing the design also allows you to use the original page as a reference page if you need one.


Now cut out the positive space (the stuff you want colored) from the design.  If you want it to show up on the shirt you need to cut it out of the freezer paper.  A craft knife will do a great job of only cutting out the area you intend to paint.  I don't have a craft knife (because they're sooo expensive, right? Sure.) so I just cut through the paper and then make sure to iron it back in place on the fabric.  You run the risk of having the paint seep through the cuts.  You can decide if the risk is worth it to you.

Once the cutting is complete it's time to iron it all on.  Set the iron to a high setting.  Place the design on the onesie with the shiny side of the freezer paper DOWN (against the fabric).  Gently press and iron the design until the paper sticks to the fabric.


Place something between the layers of fabric so the paint won't bleed through.  I used a storage lid because it looked like it fit well.  Apply the paint on the fabric.  I used a sponge brush, but makeup sponges from the grocery store also work well and are super cheap.  Don't be afraid of getting pant on the paper; you're just going to peel the paper off.  When you've covered the design as much as you want, set the fabric aside.  You don't want the paint to smear.

After about 10 minutes you can take the freezer paper off the fabric.  Do NOT wait until the paint is fully dry to take the freezer paper off.  Bits of freezer paper like to stick when the paint is dry.  It make those little pieces a bear to get off.  Using a pair of tweezer can make the removal process easier.  There's just something ultra-satisfying about peeling away the paper bits.  I don't know why--there just is.

Let dry for 24 hours before wearing or washing.  There you have it!  It's cheap, it's easy, and it's fun.  I even find the cutting mildly therapeutic.  Is that weird?

Sunday, May 29, 2011

First House Update

Technically I haven't made anything on the house yet.  However, the foundation is in and I am RIDICULOUSLY excited about it.  How cool is it to see your house go from this:


to this:
?
I can tell you (now that I've experienced it) that it is way cool!  All of a sudden it feels so real.  Ours is one of two houses in the group that has the foundation in.  Another house has the footings poured and most of the others will have their work done this next week.  We hope to start framing work in about three weeks.  Yeehaw!  I guess I'd better practice saying that now that we'll be "rural" residents. ;)

Tuesday, March 1, 2011

What I've Been Up To

I've been off the sewing grid for a while and have not blogged here.  It's not that I haven't been busy since the last post, I've just been busy with different things.  First off, I spent quite of bit of time...creatively.  Creating a new life, to be more exact.

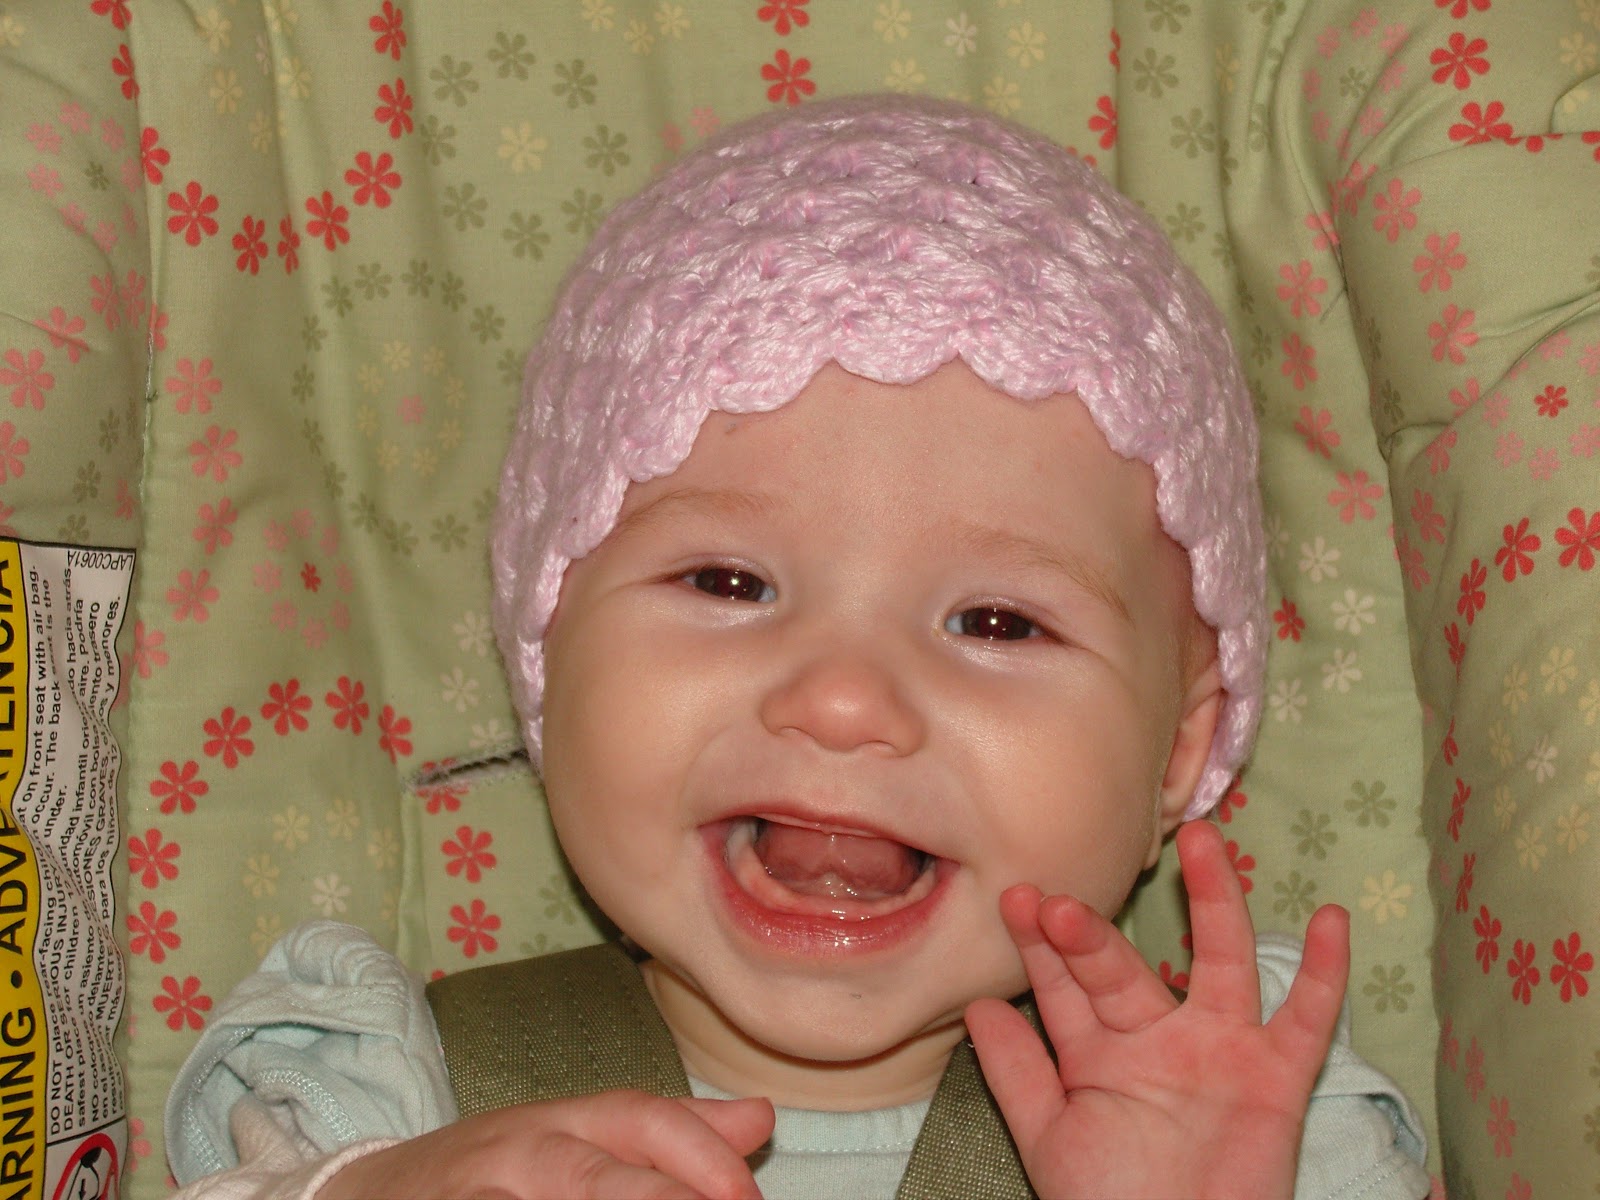
Isn't she cute?

After the last wedding dress and before the baby was born I was doing contract work with Shabby Apple.  They make really cute dresses.  I did sewing and pattern work on one of the dresses.  The link for their bridesmaid line is here.  That kept me pretty busy, particularly during wedding season.  I also made a few bridesmaid and wedding dresses for another company.  When I get those pictures I will post them and their descriptions.

Since then I haven't done much sewing, just a few alterations here and there.  It gets a bit tricky with a toddler and a baby.  I'm hoping to start up again soon, but I'm not going to push it.  The one big project I did tackle was a blessing dress for the baby.

I had the fabric stored for over six years before using it.  The fabric is all leftovers from my wedding dress.  The satin on my daughter's dress is the same as the main body of my dress.  The jacket and bonnet are the lace from my bodice.  The collar on the baby dress is the embroidered satin from the cut away part of the gown's skirt.  There is also trim lace at the baby's waist that was around the hem and opening of my skirt.  My mother did the beading on the trim lace, just as she did when I got married.  The finishing touch was the pair of booties I crocheted.

The only other sewing project I've done from scratch since the baby was a sheep costume for baby's first Halloween.  My mom made my older daughter's Little Bo Peep costume.  They were adorable.  They just didn't take any pictures together.

Now that the baby is getting a little older I would love to start sewing more fun things for the girls to match.  I'm thinking zebra print pettiskirts with a bright trim.

Sunday, July 4, 2010

Heidi

This is the beautiful and fabulous Heidi.  She was really a joy to work with and so easy-going.  That's not an easy trick to master when you're prepping for your wedding.  Heidi came to me with ideas for what she wanted in her wedding dress.  She has a very elegant, simple, and clean style.  After a few revisions we ended up with the dress that had the elements she wanted, as well as a fun blue sash to add to her beauty.


What a lovely bride!

Friday, March 12, 2010

Adding Straps

Silly me for not taking a before picture of this dress, but I do have the after. This particular dress started off strapless and the bride requested straps. After cutting fabric off the bottom to shorten the hem I used the excess fabric to create the straps. I thought the effect was great and that the pleated straps looked like they could have been original to the dress. (click on the picture to see it in better detail)

Blue Babies

This was just a quick project of matching dresses for my daughter and niece to take pictures in. The girls only cooperated for one shot, but at least we got the one. I love their matching blue eyes and their sweet little faces.

Wednesday, December 9, 2009

Change the Dress

Th general alterations I do on most wedding gowns are simple things like the hem that aren't really noticeable in a picture. This gown required work that shows very clearly. The bride loved the dress, but not all the fabric on the skirt. I made it into one layer over the top and then hemmed both layers. The other change was in the bottom of the bodice. The dress originally ended in a V-point in front and the bride wanted it more round. The "after" picture of the dress looks like it has a lot more shine to the skirt, but the real difference is just in the use of natural light in the "before" picture and a camera flash in the "after" picture.

Before

After