Sunday, June 19, 2011

Baby Contest

Back in the day my mom entered me in the Freedom Festival Baby contest.  I've always loved the picture that came from that day.

I suppose I always thought I was a pretty cute baby.  Now I have two beautiful girls of my own, Blue Eyes and Pink Blur.  I carried on the tradition for my Blue Eyes's first two years.  She won a prize in the costume category both years!  I was extra proud of that because I'd made the dresses.  In the second one she's a waitress and has her little medal.


This year it was time for Pink Blur. I dearly wanted to be there for it all (I have a lot of fun at these things) but it was the first day of building our house and missing that isn't exactly an option.  My parents were gracious enough to take the girls and go through the process with my younger daughter.  She didn't win a prize, but she's still the cutest little thing I think I've ever seen.  I'll probably enter her next year, too.  I'm really sad I missed this one.


Her sailor dress is one I bought to go with a sailor dress my older daughter has.  I thought it was a cute little patriotic thing, as well.  I also made her a costume.  I made her a little Scarlett O'Hara costume to commemorate the 150th anniversary of the start of the Civil War.  I thought it was pretty creative.  The pictures don't show Pink Blur to her full cuteness.  I guess she was kind of freaked out when the photographer tried to get her attention by sticking a fuzzy toy in her face.  My parents told me she was not happy and the fuzzy thing really distressed her.  That sad face says it all.  I still think she made a darling Scarlett.

What are your ideas for a patriotic costume?

Tuesday, June 14, 2011

Winner, Winner!

Using the oh-so-scientific method of, "Honey, pick a number for me," we have the winner of the flag clippies!  Two clippies go to Carrie, who said:


Saturday at 5:34pm · Privacy: ·  ·  · 

    • Carrie Prince I tried commenting, but it won't let me, so here's my comment: My favorite is to go balloon chasing on the 4th. BBQ's and spending time with family are up there on the list too
      Saturday at 6:01pm · 

I know her comment didn't show up on the blog, but she DID try.  Congrats to Carrie!  Let me know how you want your clippies made and we'll get it done.  Woohoo!

Wednesday, June 8, 2011

GIVEAWAY!!!

So I have a lot of ribbon left over from the flag clippies.  Really, there is a LOT.  I figured it would most likely sit there until inspiration struck again.  The inspiration was to give away some flag clippies.  Woohoo!  I've never done a giveaway before, so I'm totally excited about it.  Flag Day is coming up next week.  So the contest will run until then.

How to enter:
1. Become a follower and leave a comment telling me your favorite Independence Day tradition.

That's all!  If more than 20 people enter we'll have three winners.  Each winner gets two clippies on their choice of alligator or french clip, as well as their choice of flapping or straight flag.  I'm excited!

I'll start off the traditions.  I love going to all the activities in Provo.  The patriotic service is inspirational, Colonial Days is educational, the parade is wonderful to spend time with family, and I can't make it through without a Texas Twister from Freedom Days.  Maybe it's cheating to use the Freedom Festival activities as my favorite tradition, but that's how it is.  Family barbecues and fireworks also top the charts.

Good luck to all!  The contest will end on Flag Day (June 14) at 5 pm MST.  I'll choose a winner randomly. Check back to see if you won!

Tuesday, June 7, 2011

Tutu Onesie

I used this onesie before and promised that the finished product would be shown.  Here it is!  I think this is one of the cutest little things for little girls I've seen in a long time.  To get started you'll need a ruler, marking tool (I used the wax tailor chalk), elastic thread, and 3 inch strips of sheer tricot (also called nylon chiffon, but I can't bring myself to do it.  It's the sewing teacher in me rearing its ugly head).  FYI, I buy my sheer tricot here.  They also have it in precut strips if you want to make a lot.

Start off by marking the onesie at 1/4" above the binding around the leg.  Mark both the front and back.

Make three more marks, each one another 1/4"-3/8" above the previous line.  I thought a simple 1/4" apart looked a bit too close together.

Gather the fabric strip down the middle.  I used my ruffle foot.  It would be really easy to just use a gathering stitch if you don't have a ruffle foot.  You don't need to gather it super tight.  This is one of those times when it's almost a "less is more" kind of situation.  It may have been about a 2:1 ratio.  I never checked.

Wind a bobbin with your elastic thread.  This will add stretch so your stitching doesn't break.  You could also use a stretch stitch and pull the onesie as you sew, but this is easier.  Start off sewing on the line closest to the neck and move the onesie to the left for each line after that.  It makes it easier.  Trust me.  Stitch the tricot on to the onesie, keeping the stitch on the fabric over the placement line and sewing on top of the gathering stitch.

IMPORTANT:  Make sure to stretch the onesie a little bit as you sew.  There will still be stretch if you don't, but it will pull in extra tight on her little backside.

Once you've done the first row, fold both tricot layers toward the neck.  As I started sewing I realized that the very easiest thing to do was simply use the last stitching line as a placement guide.  It worked perfectly to put the edge of the presser foot against the folded-back edge of my last row ofstitching.

Another thing I discovered as I continued sewing was that I did not need the fourth placement line.  It would certainly make the tutu more full, but I didn't care about that very much.  I thought it looked good with three and I stopped there.

The look of the tutu can be changed by using different fabric colors or different widths of tricot strips.  The animal print fabric was 3" wide, but I've also done it at 2" wide (see picture below).  I didn't think that was wide enough.  You can decide what you want to do on your own.

It's super cute for crawlers, walkers, or just a no-fuss and cool summer outfit.  Next time there's a baby shower for a girl I may just whip one of these up.  I always tend to have a little sheer tricot on hand.


Linking up here:
Creative Sewing Blog
 photo blogbutton_zpsb1fa0f6d.jpg

Saturday, June 4, 2011

Selection Day...Ahhhhh!!!

Today was the day I've been itching to get at for quite a while.  It was selection day!!!  The Hubs and I had already chosen the main stucco color and the stone.  I'm glad we had that done so we could focus on the other things.  I took several pictures so you can see what we chose, as well as leaving me with a reminder.  The description is above the pictures.

The lighter stucco is our main color and the darker is our trim color.  The stucco colors look pretty gray in this picture, but they are more blue in person or once they're on a house.  We prefer the blues and gray to brown, so these colors worked out perfectly for us.

To get an idea of what the colors look like outside I've included pictures from two previously built homes.  The one on the left shows our main color and the one on the right is our trim.  They look a little blueish and we totally love that!

After the stucco colors and stone we chose the shingles.  The one we chose is the one just below where the two stucco colors touch.  It's hard for me to get an idea of what that will look like over the entire house, so I guess we'll have to wait and see.  It seems to coordinate pretty well.

The wood for the cabinets is knotty alder and the stain is Wild Cherry.  We first chose it in oak, but the two together did not look good.  There is also a chip for the countertop resting on the cabinet sample.  Our appliances will be black, making this formica perfect for blending to wood and the appliances.  The cupboards will have a cathedal arch at the top rather than being straight across at the top.

The kitchen, dining room, bathrooms, and wash room will have the vinyl shown in the middle.  The rest of the house will be carpeted with the sample shown below.  I never knew I was such a fan of taupe.

Interior lighting will have the hanging bowl in the dining room and the flush mount lights (just to the right of the bowl) throughout the rest of the house.  The glass has the alabaster finish shown on the hanging bowl, rather than the melon finish shown on the flush mount light.  You can also see other cabinet sample on the wall.  The cabinet on the far right shows the arch that will be at the top out our cupboard doors.

The bathroon light bar is shown below.  The choices for the bathrrom light were the one that you see or the same design with a darker finish.  Our outdoor lights will be the mount shown just to the left of the bathroom bar.  It will have a black finish.

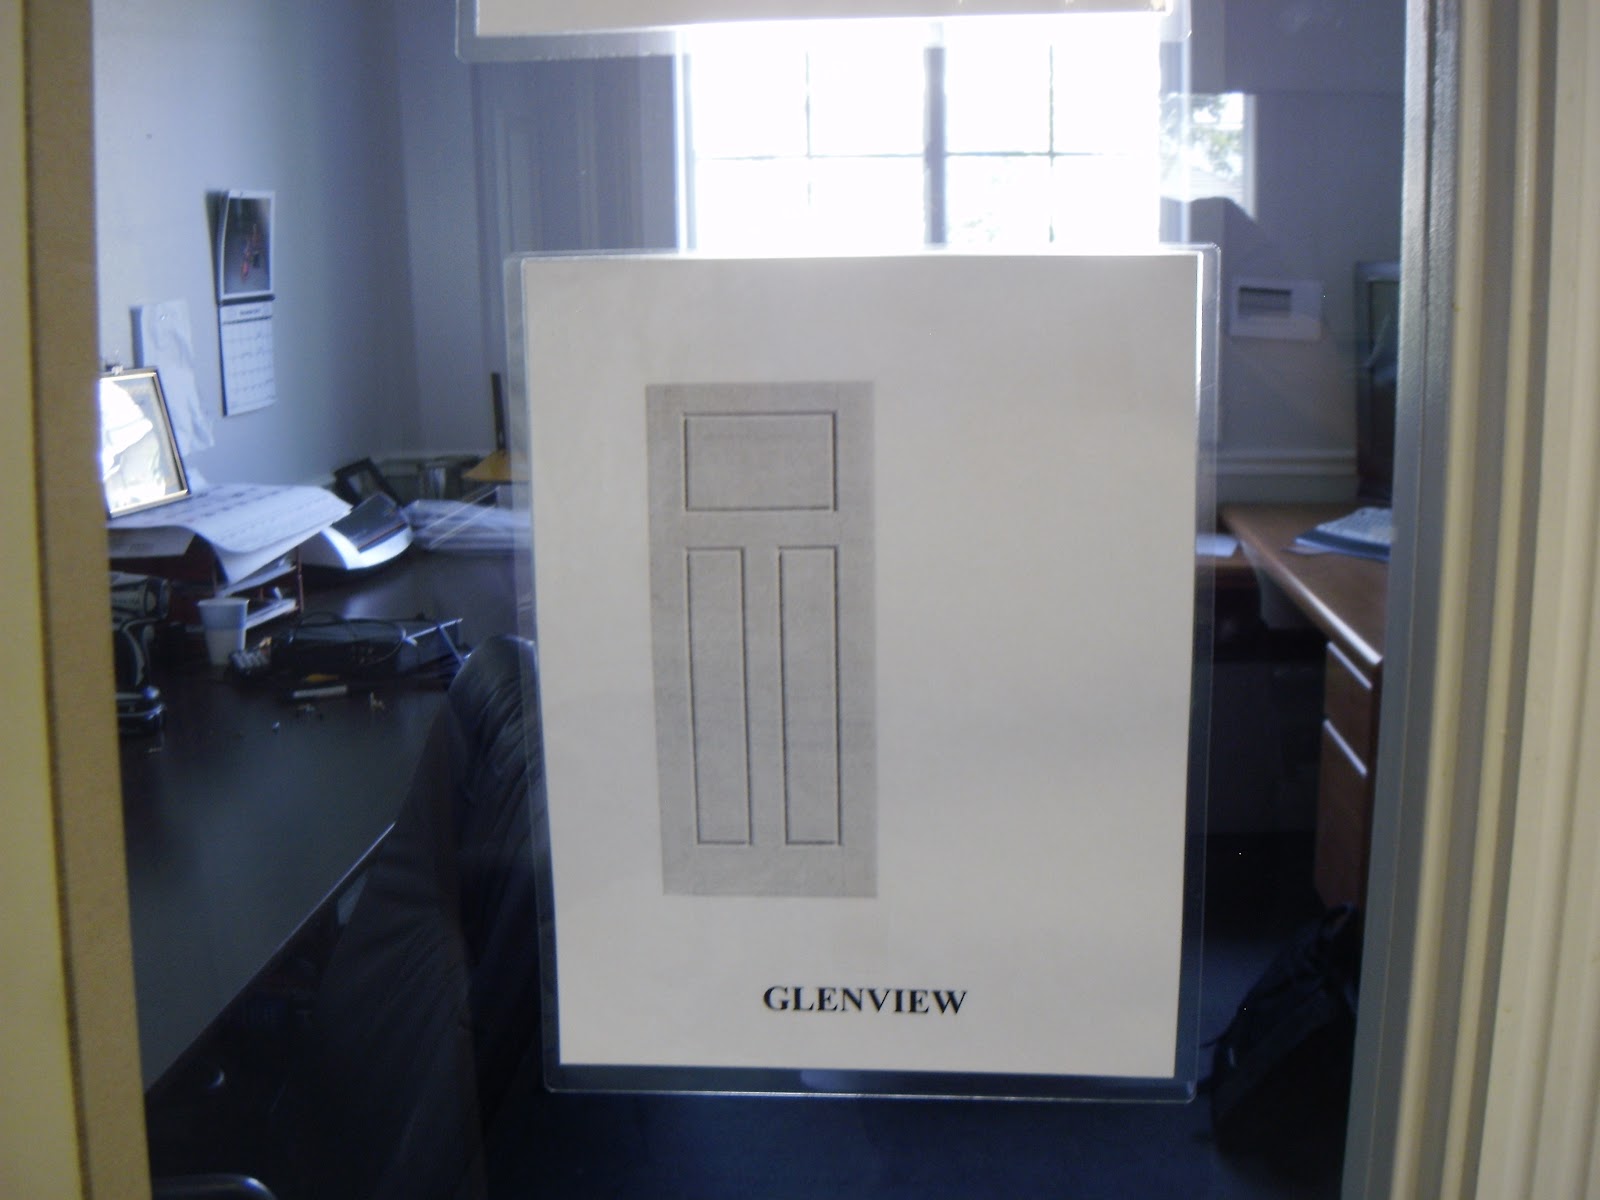
Our interior door will be the Glenview style.  There were three or four other choices, but this was our favorite.

These are the baseboards and casings.  A new option is a flat board.  I liked the clean look of the flat boards, but that one doesn't come with window sills.  I liked what we chose because it does come with window sills and it's more decorative.

Below is a picture of another house built with the floor plan we selected.  It gives a good idea about what our home will look like.  We chose white for the garage door, fascia, and soffits.  We also chose the octogon shape for the gable vents.  This house has quoins (the decorative "bricks" on the corners) but ours will not.  I like quoins on home with trim that is lighter than the main color, but nor the other way around.  As our trim will be darker, we went without quoins.  Now we have just under two weeks before we start.  Let the games begin!

Thursday, June 2, 2011

Flag Clippies

One of my favorite parts of summer is Independence Day and all the surrounding festivities. It's one of my favorite holidays.  Every year I forget to buy a patriotic bow to put in my daughter's hair.  Not this year.  This year both my girls will be getting cute flag clippies.  They were fun to make and I think they're pretty adorable.

Supplies:
Red and white striped ribbon (5/8" wide)
Blue polka dot ribbon (5/8" wide)
Silver ribbon (1/2" wide--optional)
Glue gun
Hair clip of choice

I just picked up ribbon when I was out at the store so I have a LOT of extra.  If you can buy it by the inch it's even more economical.  The stuff I bought was Offray brand.  The silver ribbon was leftover from another Fourth of July project and was also Offray ribbon.

Cut the blue ribbon 1-1/2" long.  Make sure to seal the edges with heat or Fray Check. I prefer to heat seal with a lighter.  The edges shrink a little but it feels more secure.

Use the striped ribbon and the dotted ribbon to get an idea of how long you want your flag to be.  I wanted my flag to look like it was flapping in the breeze, hence the fold.  I ended up cutting it four inches wide before I sealed the edges.  Cut two lengths.

Once the ribbon is cut, glue two edges to attach the "stars" to the stripes.  Word to the wise: leave a bit of the bottom edge free of glue for later use.

This part is easily the trickiest.  The two strips of stripe fabric need to be glued together along the bottom.  They can be joined by exactly overlapping the strips or by offsetting it just a touch to make the stripe width more uniform.   The ribbon width was just off just enough to make a great marker for stripe placement.  The picture on the right shows the difference between the stripes.  The flag on the left shows the stripes overlapped exactly and the flag on the right shows them offset a little.


From here you can choose where you want your flag to flutter.  Glue the ribbon onto itself on both sides to secure.  I also left one without the flutter to see if I preferred that.  I cut the ribbon a bit shorter until it was a length I liked better.  I ended up "fluttering" it, anyway.  The difference can be seen in the picture at the top.

To make the flag pole I simply cut 3 inches of ribbon and folded it in half.  Then I sandwiched the flag between the layers.  One trick that worked for me was to glue a dot at the top and at the bottom to help hold it in place while sandwiching the flag.  Glue both sides of the ribbon to hold it down.  Another option for the pole would be to use the reverse side of dotted ribbon and glue that on.

To finish off the bow, glue on your favorite hair clip.  I happened to have a french clip available at the time.  That's what is modeled below.  I can't wait for my girls to wear theirs this summer!  Total cost for the project was under $8.  I'll have enough ribbon to make two for Blue Eyes, one each for Pink Blur and my niece, and I may even make one for myself.

Wednesday, June 1, 2011

Freezer Paper "Silk Screen"

This technique is far from new but sometimes it's good to have a little reminder that it's possible.  I'm sure it would be a lot easier to do with a Cricut or a Silhouette or something.  I don't have one of those, so I use the good old freezer-paper-and-scissors method.  Printing like this is a great way to personalize shirts or other fabrics without a lot of cost.  The onesie I used in the pictures has an intended purpose.  It'll be super cute when it's done.  I'll make sure to post a tutorial for that when the time comes.

Before you begin make sure to pre-wash your fabric. The onesie I used shrunk quite a bit after its first washing.  I'm just glad I knew that before I started this project.

The supplies you need are pretty basic:
Item to be painted
Freezer paper
Your chosen design
Scissors or craft knife
Paint and something to apply it
Iron
Tweezers

I decided this little onesie needed a makeover and that it would include an animal print.  I wanted words and a graphic and thought the leopard paw was a good idea.  Play with the design on your computer to make sure it's what you want.  Be prepared to print and adjust your design once or twice.  Once it's printed you'll be able to see if the design needs to be bigger or smaller.

When your design is ready it's time to trace it on the freezer paper.  Place the shiny side of the freezer paper against the right side of the design.  Trace, trace, trace!  I've also put the freezer paper directly into the printer and done it that way.  It saves time but it does not allow for any mind-changing.  Tracing the design also allows you to use the original page as a reference page if you need one.


Now cut out the positive space (the stuff you want colored) from the design.  If you want it to show up on the shirt you need to cut it out of the freezer paper.  A craft knife will do a great job of only cutting out the area you intend to paint.  I don't have a craft knife (because they're sooo expensive, right? Sure.) so I just cut through the paper and then make sure to iron it back in place on the fabric.  You run the risk of having the paint seep through the cuts.  You can decide if the risk is worth it to you.

Once the cutting is complete it's time to iron it all on.  Set the iron to a high setting.  Place the design on the onesie with the shiny side of the freezer paper DOWN (against the fabric).  Gently press and iron the design until the paper sticks to the fabric.


Place something between the layers of fabric so the paint won't bleed through.  I used a storage lid because it looked like it fit well.  Apply the paint on the fabric.  I used a sponge brush, but makeup sponges from the grocery store also work well and are super cheap.  Don't be afraid of getting pant on the paper; you're just going to peel the paper off.  When you've covered the design as much as you want, set the fabric aside.  You don't want the paint to smear.

After about 10 minutes you can take the freezer paper off the fabric.  Do NOT wait until the paint is fully dry to take the freezer paper off.  Bits of freezer paper like to stick when the paint is dry.  It make those little pieces a bear to get off.  Using a pair of tweezer can make the removal process easier.  There's just something ultra-satisfying about peeling away the paper bits.  I don't know why--there just is.

Let dry for 24 hours before wearing or washing.  There you have it!  It's cheap, it's easy, and it's fun.  I even find the cutting mildly therapeutic.  Is that weird?