I finished the crib bedding today. Yeehaw! (I just moved into a rural area so I've got to get used to speaking like the natives, right?) The crib sheet and skirt are all done and even placed in the crib. Maybe that shouldn't make me overly proud, but I'll take any accomplishment I can get when I'm as roundly pregnant as I am at the moment.

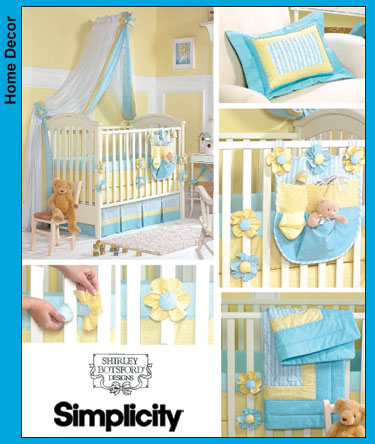 |
| Picture from sewingreview.pattern.com |
For the bedding pattern I kind of merged the one I used for my daughter (Simplicity 3795) with the one from Amy Butler's book Little Stitches for Little Ones. (follow the link and if you click on "First Pages" after you click on Look Inside! and continue clicking through you'll find a picture of the set. Sorry, that's the best I can do for a picture) From Amy Butler I used the basic measurements for the sheet and crib skirt sizes, as well as using panels rather than large pleats. From the Simplicity pattern I used width measurements for the three different fabrics to be used for the crib skirt. I'm completely skipping out on the bumpers pads because 1) they were more trouble than they're worth last time around, 2) darling as they are, SIDS stats are increased with using them, and 3) my second daughter slept with her face pressed into her crib bumper and we ended up just taking it out of the crib, anyway.
The big challenge with the crib sheet was lack of yardage. I wanted to use the print with larger animals but there simply wasn't enough yardage (or was it width?). Instead of deciding which other fabric I wanted to use I just took the measurements for side panels straight from the book and made them from the coordinating yellow fabric. I thought I was brilliant until I saw that there are companies selling crib sheets this way so parents can avoid putting bumpers in the crib. Ah, well.

 |
| See? Much better. |
The next problem (in my mind) was that I wanted a little more embellishment for the crib skirt. To me that is the show piece of a bedding set, particularly when bumpers aren't being used. But embellishment would mean I'd have to spend money. Dang it. I decided to bite the bullet and purchase some jumbo rick-rack when I got my little stroke of brilliance. The darker yellow color I had from leftovers didn't have a lot of yardage, but you don't need a lot to make picots. I love picots and knew they would make a great addition...especially without needing to purchase anything.
 |
| Someday I will learn to take good pictures that all have the same light. |
 |
| Finished product being stepped on by daughter #2, aka The Pink Blur |
 |
| I'll clean out under there before baby is born...maybe. |
Overall, this project isn't as scary or irritating when the bumpers are left out. I highly recommend skipping them for the sake of your sanity. I have other pictures and things to use for a tutorial if anyone is interested.
No comments:
Post a Comment