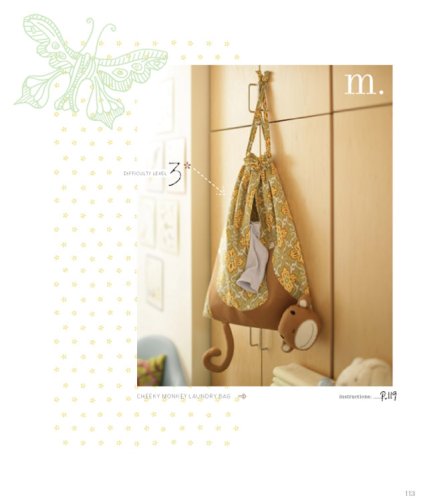
 |
| Original Cheeky Monkey Laundry Bag image via Amazon |
I saw a sewing competition and it gave me the inspiration I needed to finally get. this. project. finished.
I'm usually a plan-it-all-out-before-you-get-started kind of girl, but this project was one that evolved as I worked on it. The idea of a laundry bag just didn't appeal to me. A diaper stacker DID appeal to me. No, I don't know why, but I've always wanted one for my kids. So the laundry bag project took its first turn into the diaper stacker project.
 |
| Flat bottom...very unlike my own round one ;) |
I decided that the monkey really was a necessary part of the stacker. I had lots of extra felt on hand and was excited to make the monkey match the fabric on the crib bedding. No such luck. My felt is in sheets and they were just too small to fit the monkey's body. Strike one.
After realizing the felt wouldn't work I figured I could go to the fabric store and pick up some coordinating fabric to make the monkey. No go. The Pink Blur is in early potty training, so we aren't leaving the house much these days. Strike two. That left me with trying to use my other leftover crib fabric to make the monkey. Only the pale yellow fabric had enough yardage and the blue fabric on the stacker would have shown through terribly. Strike three and it's time for a new game.
 |
| My carpet is many things. Vacuumed is not currently one of them. Don't judge. |
I rummaged through my fabric stash a bit more and found some green fabric in the shape of the state of Oklahoma. There was so little there that I wondered why I'd ever kept in the first place. Well, it worked. Sort of. With adjustments. Monkey boy's body length was shortened by about three inches to make up for the mitered corner on the stacker, as well as to conserve fabric. The arms were shortened about two inches each so all the pieces could fit. The picture above shows how very close I was to not having sufficient fabric. Yes, I did cut one of the head pieces poorly and have a chunk missing. That's what the back of the head is for. The contrast came from the pale yellow fabric.
Putting the monkey's body together was pretty easy. The book suggested applying Wonder Under and ironing the body applique on before doing a satin stitch around the edge. I had no Wonder Under and, again, Pink Blur is potty training, so no "quick" trip to pick some up. I just tried to pin everything in place really well to avoid much fabric shifting. That's not the easiest thing when the kids have hidden your pin cushion and you have a grand total of three pins to hold stuff in place. But I digress. If I'd had dry cleaning bags I could have used those in place of Wonder Under. But no bags. C'est la vie.
After the monkey's body was done I followed the instructions and embroidered the eyes, nostrils, and smile in place. If I'd had fabric paint on hand I soooooo would have just painted those on. I attached the head by machine rather than by adding velcro strips, as was suggested. I don't plan on washing the diaper stacker like I would a laundry bag, thus eliminating the need for a removable head.
 |
| Fully stocked with size 2 Huggies, the stacker holds 80 diapers. 79...78...77...76... |
 |
| My middle child is an arTEEST. |
Because I don't have anywhere good to actually hang the stacker I decided that short ties attached to the side of the change table would be better than a drawstring for me. As I sat and dreaded making the straps (it was late and I was tired, but wanted to finish) I remembered that I had quite a bit of green ribbon in a bag. Easy cheesy! I edge stitched the top closed over those suckers, tied them on to the change table, and we were in business!
 |
| I thought about changing the name of this project but "cheeky" seemed appropriate for a diaper stacker. |


No comments:
Post a Comment